How to Manage Docker Images on GitHub
The development of the Docker based build and test environment for Joomla! involves the use of a whole bunch of Docker containers. In order to provide a stable environment, proper versioning and tagging of the Docker images is vital.
So, what do you expect from an image management? The basic requirements are
- a comprehensive, intuitive structure
- support multiple versions in parallel, where appropriate
- of course: clean code
- manage all images in one GitHub repository
- utilize Docker's automated build system
With a structure matching these requirements, it is easy to get productive. Goodies like template supported readme generation or semi-automatic updates for updated services, however, leave room for future improvements.
What's the name?
Maybe it's only me, but when I started to play with Docker some time ago, I got confused because of terms like repository or tag with differing semantics in GitHub or Docker context. In this post,
- image refers to a repository in Docker's sense. It can have multiple versions and variants, and its source is housed in a directory in the GitHub repository.
- repository without association always means a GitHub repository.
- tag is a marker for the version or variant of an image.
Setup the GitHub repository
Simple images
A simple image consists of build instructions in Dockerfile, documentation in README.md,
and optionally files used by the Dockerfile.
The basic layout thus has the form
<image>/                // one directory per image
 +- Dockerfile          // build instructions for <image>:latest
 +- <other>             // optional files for use inside the image
 +- README.md           // documentation
This image layout can be used for services with only one active version.
Jekyll with github-pages comes into mind,
because it is defined to always reflect the current GitHub Pages setup.
This image type is only available in its latest version.
Versioned images
In most cases, the version number does matter. A version number usually consists of three parts: major, minor, and patch, separated by a dot ('point'). With semantic versioning, it could be sufficient to look at the major value, since an increment on the patch value denotes no change regarding the features, an increment on the minor value denotes additional features, and an increment on the major value denotes a break of backward compatibility. So it is (read: should be) always safe to use a newer version, as long as the major value does not change.
Some services maintain several versions in parallel, though. An example is PHP, which at the time of this writing is provided in four versions - 5.4.42, 5.5.26, 5.6.10, and 7.0.0 (alpha2). That fact leads to the necessity to group versions by the major.minor combination.
<image>/                // one directory per image (ex: `php`)
 +- <major>.<minor>/    // one directory for each supported major.minor version (ex: `5.6`)
 |   +- Dockerfile      // build instructions for <image>:<major>.<minor>
 |   +- <other>         // optional files for use inside the image
 +- README.md           // documentation
Variants
Other services might utilize different flavours, e.g. operating systems (Windows, Linux, …) or services (postfix, sendmail, …). Introducing named variants allows us to cater for that:
<image>/                // one directory per image (ex: `mail`)
 +- <variant>/          // one directory for each supported variant (ex: `postfix`, 'sendmail')
 |   +- Dockerfile      // build instructions for <image>:<variant>
 |   +- <other>         // optional files for use inside the image
 +- README.md           // documentation
Versions and variants
Using PHP as an example again, the need for version numbers and variants can occur at the same time. We want to
distinguish php:5.6-cli from php:5.6-fpm and php:5.4-cli. So a combination of the two latter layouts is used to
cover this case:
<image>/                // one directory per image (ex: `php`)
 +- <major>.<minor>/    // one directory for each supported major.minor version (ex: `5.6`)
 |   +- <variant>/      // one directory for each supported variant (ex: `cli`, 'fpm')
 |   |   +- Dockerfile  // build instructions for <image>:<major>.<minor>-<variant>
 |   |   +- <other>     // optional files for use inside the image
 |   +- Dockerfile      // build instructions for <image>:<major>.<minor>
 |   +- <other>         // optional files for use inside the image
 +- README.md           // documentation
Style conventions
There are some best practices for the Dockerfile, you should consider, if you want to publish your images. The Docker documentation provides a chapter on how a Dockerfile should look like.
Following the best practices described in that article, you can be sure to create easy-to-use, effective Dockerfiles.
The README.md documentation file has to be crafted carefully, too. A consistent style and structure is preferable,
as it helps others to find the information, they need at the moment.
For the content structure look at the descriptions of the official images. The documentation on the Docker site provides
an article about Style and grammar conventions. Although that article
focusses on contributions to Docker itself, it applies to your project's documentation as well.
In general, it is a good idea to follow the guidelines of the Official Repositories on Docker Hub. Who knows - some day your image may become official!
Automated builds
The Docker Hub provides automated builds, which can be triggered by commits to the GitHub repository. You're guided through the process of creating a Docker account and linking your repository to it.
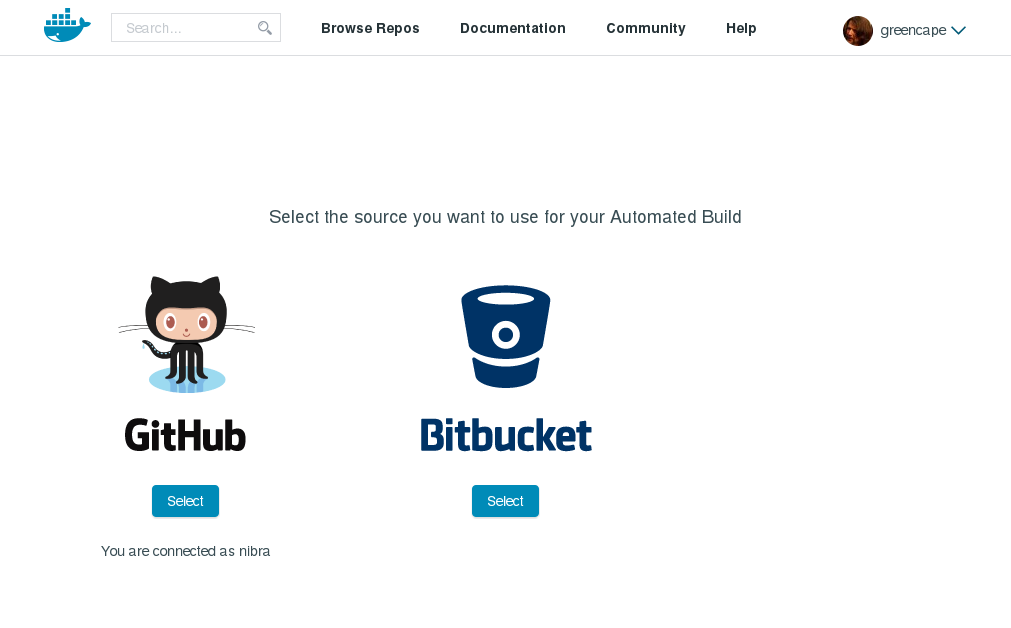
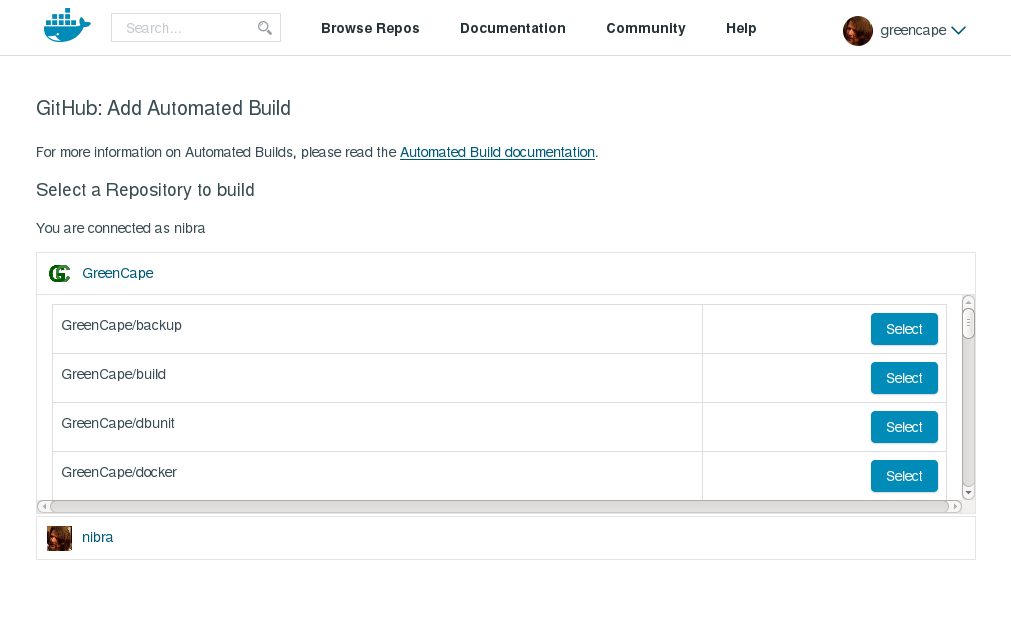
Once your GitHub repository is connected to your Docker account, you can configure the automated builds for your images. This screenshot shows the configuration screen:
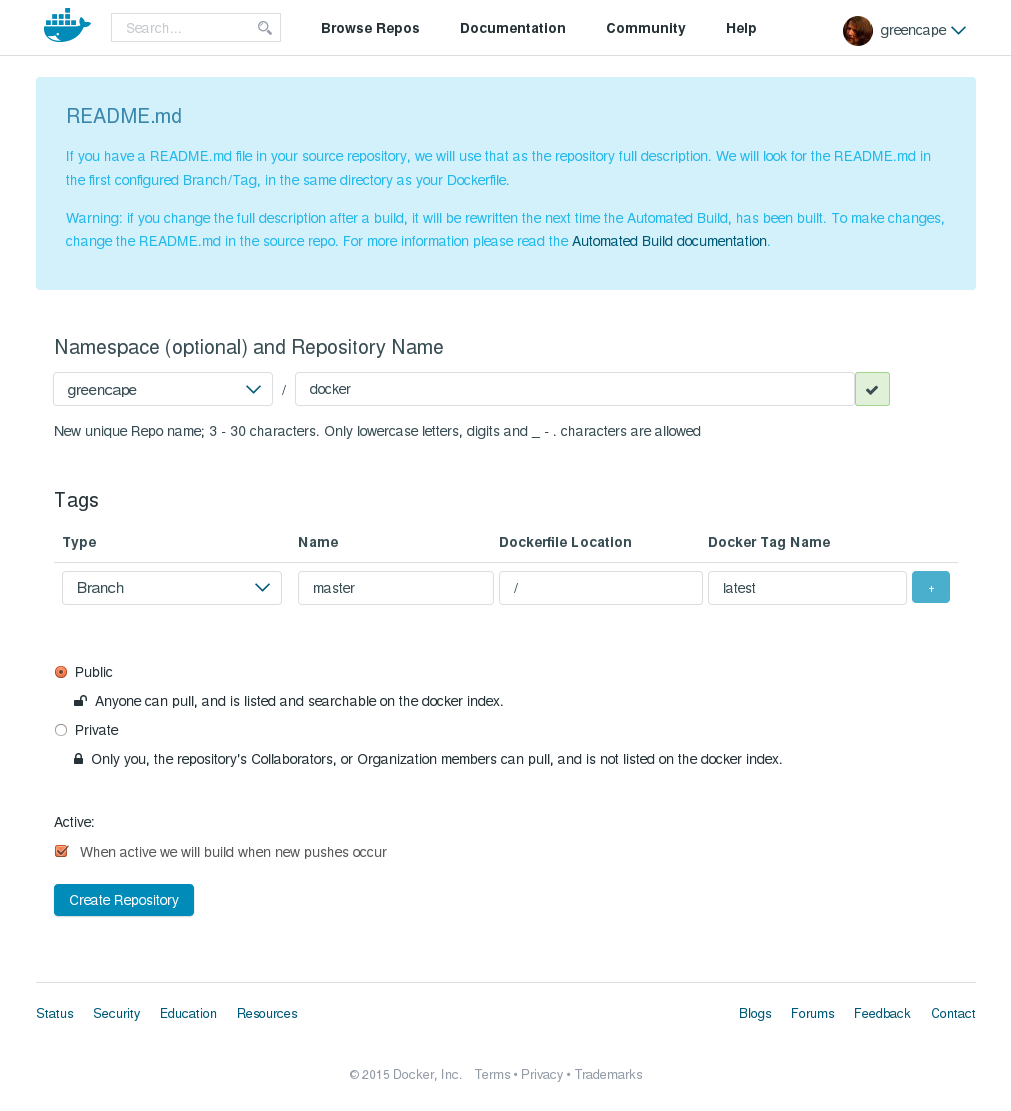
The configuration starts with 'Namespace' and 'Repository Name'. These actually mean 'your account name' and 'image name'. The latter is preset with the name of your GitHub repository, which you should not let you get confused. Just insert the name of your image. A green checkmark on the right shows you, that you've chosen a valid unique name.
In the 'Tag' section, you define all versions and variants, that Docker should build for you.
The first two fields point to the branch master, which usually is a good choice. Leave it as it is.
With the remaining two fields, the source location and the tag are defined. Clicking on the plus sign on the right
gives you another row, so you can add versions and variants.
Let' once again use PHP as an example:
| Namespace | Repository Name |
|---|---|
| Your account | php |
| Type | Name | Dockerfile Location | Docker Tag Name |
|---|---|---|---|
| Branch | master | /php/5.6 | latest |
| Branch | master | /php/5.6 | 5 |
| Branch | master | /php/5.6 | 5.6 |
| Branch | master | /php/5.6 | cli |
| Branch | master | /php/5.6 | 5-cli |
| Branch | master | /php/5.6 | 5.6-cli |
| Branch | master | /php/5.6/fpm | fpm |
| Branch | master | /php/5.6/fpm | 5-fpm |
| Branch | master | /php/5.6/fpm | 5.6-fpm |
| Branch | master | /php/5.6/apache | apache |
| Branch | master | /php/5.6/apache | 5-apache |
| Branch | master | /php/5.6/apache | 5.6-apache |
| Branch | master | /php/5.5 | 5.5 |
| Branch | master | /php/5.5 | 5.5-cli |
| Branch | master | /php/5.5/fpm | 5.5-fpm |
| Branch | master | /php/5.5/apache | 5.5-apache |
| Branch | master | /php/5.4 | 5.4 |
| Branch | master | /php/5.4 | 5.4-cli |
| Branch | master | /php/5.4/fpm | 5.4-fpm |
| Branch | master | /php/5.4/apache | 5.4-apache |
| Branch | master | /php/7.0 | dev |
| Branch | master | /php/7.0 | 7 |
| Branch | master | /php/7.0 | 7.0 |
| Branch | master | /php/7.0 | 7-cli |
| Branch | master | /php/7.0 | 7.0-cli |
| Branch | master | /php/7.0/fpm | 7-fpm |
| Branch | master | /php/7.0/fpm | 7.0-fpm |
| Branch | master | /php/7.0/apache | 7-apache |
| Branch | master | /php/7.0/apache | 7.0-apache |
Of course you can re-assign the tags later in the settings of the Docker repository. When PHP7 gets its first stable
release, you'll want to remap latest and cli to /php/7.0, and fpm and apache to /php/7.0-fpm and /php/7.0-apache,
respectively.
When you commit to the master branch of your GitHub repository, Docker Hub gets notified, and will re-build any of
the versions and variants, that are affected by the commit.
finally {}
At this point, we have all of our requirements in place:
All images are managed in one GitHub repository with a comprehensive and intuitive structure,
that supports multiple versions and even variants in parallel.
There is a style guide for both code and documentation, allowing us to deliver clean code.
New Docker images are built, whenever changes are committed to the master branch of the source repository.
@todo
Obviously, a lot of code and documentation has to be duplicated for different versions and variants. Since that violates the DRY principle, one of next steps must be a template supported code and documentation generation. But for now, we've got a solid starting point for active Docker development.
Get life to your ideas!